How to Gua Sha with Moringa Facial Oil: A Step-by-Step Ritual for Lymphatic Drainage and Natural Glow
Share
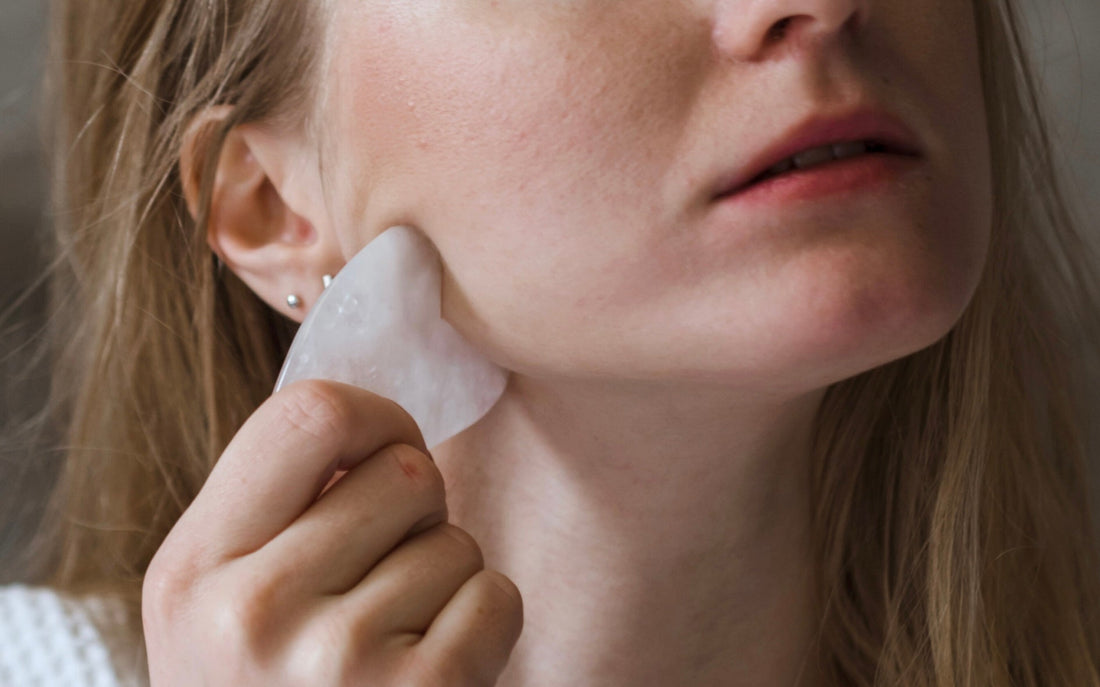
Gua Sha is a traditional Chinese practice that uses a smooth-edged tool to gently massage the skin, improving circulation and easing muscle tension. A softer version is used on the face and neck to boost lymphatic flow and create a natural, lifted glow. But it is more than just a skincare trend. It is a traditional beauty ritual that promotes better circulation, reduces puffiness and enhances natural radiance. When paired with Moringa Project Facial Oil, this practice transforms into a mindful ritual that nurtures both skin and spirit. We are here to guide you through each step!
Step 1: Prep and Prime
Begin with a freshly cleansed face.
Apply 3 to 5 drops of Moringa Facial Oil into your palms, warm it between your hands, and press gently onto your face and neck.
Why it matters: The oil provides the perfect glide for your gua sha tool and nourishes the skin with antioxidants, vitamins and omega-9 fatty acids.

Step 2: Activate Lymphatic Drainage
Before sculpting, start by stimulating lymphatic flow to reduce puffiness and support detoxification.
Neck release
Glide the flat side of your tool from the base of your ear down to the collarbone three to five times. This opens the main lymphatic channels.
Jawline flush
Begin at the center of your chin and sweep along the jawline toward your earlobe. Pause slightly at the end of each stroke and give a gentle wiggle.
Behind the ears
Move behind your ears and glide down the neck toward the collarbone to complete the drainage pathway.

Step 3: Sculpt and Lift
Once the lymphatic channels are open, focus on contouring and lifting.
Cheeks
Sweep from the side of your nose outward toward your temples. Repeat several times.
Under eyes
Use the curved edge and move gently from the inner corners of your eyes toward the temples.
Forehead
Start between your brows and glide upward to your hairline, then move outward from the center of your forehead.
Jawline
Use the notched edge to follow the contour of your jaw from chin to ear to relieve tension.

Step 4: Complete the Flow
Finish by sweeping from your face down to your neck and collarbone. This encourages complete lymphatic drainage and helps your skin appear smoother, lifted, and refreshed. Take a moment to breathe deeply and relax.
Tips and Tricks for a Better Gua Sha Routine
1. Chill your tool: Keep your Clear Quartz Gua Sha in the fridge for 10 to 15 minutes to reduce puffiness and awaken the skin.
2. Use gentle pressure: Let the tool glide effortlessly. Gua Sha should feel soothing, not forceful.
3. Always start from the neck: Opening the lymph nodes first helps the face drain properly.
4. Stay consistent: Practice three to five times per week for visible, long-term results.
5. Keep it clean: Wash your Gua Sha tool with mild soap and warm water after every use, then dry completely.
6. Breathe with intention: Deep breathing helps calm the nervous system and improves circulation.
7. Make it your night ritual: Use Moringa Facial Oil before bed to nourish and repair the skin while the Gua Sha tool releases daily tension.

Why Pair It with Moringa Facial Oil
Our cold-pressed Moringa Oil is a natural powerhouse and its most important quality is its natural antibacterial properties, which help keep the skin clear and minimize flare-ups more effectively than many other oils.
It’s also rich in:
• Oleic acid for deep hydration
• Antioxidants to help protect against pollution
• Vitamins A and C to brighten and support collagen production
Together, these nutrients leave the skin calm, supple, and radiant.
Your Moment to Glow
Transform your skincare into a mindful ritual of care and calm. Pair your Moringa Facial Oil with our Clear Quartz Gua Sha to lift, soothe, and reveal your natural glow.
Because glowing skin begins with mindful care.
